
Finding the perfect prom dress is one of the most exciting parts of preparing for your big night. When you choose a custom-made gown, you’re investing in a dress that’s tailored specifically to your body, ensuring a flawless fit that off-the-rack dresses simply can’t match. But to achieve that dream fit, accurate measurements are absolutely essential.
This comprehensive guide will walk you through exactly which measurements you need, how to take them correctly, and what to expect from the custom dress process.
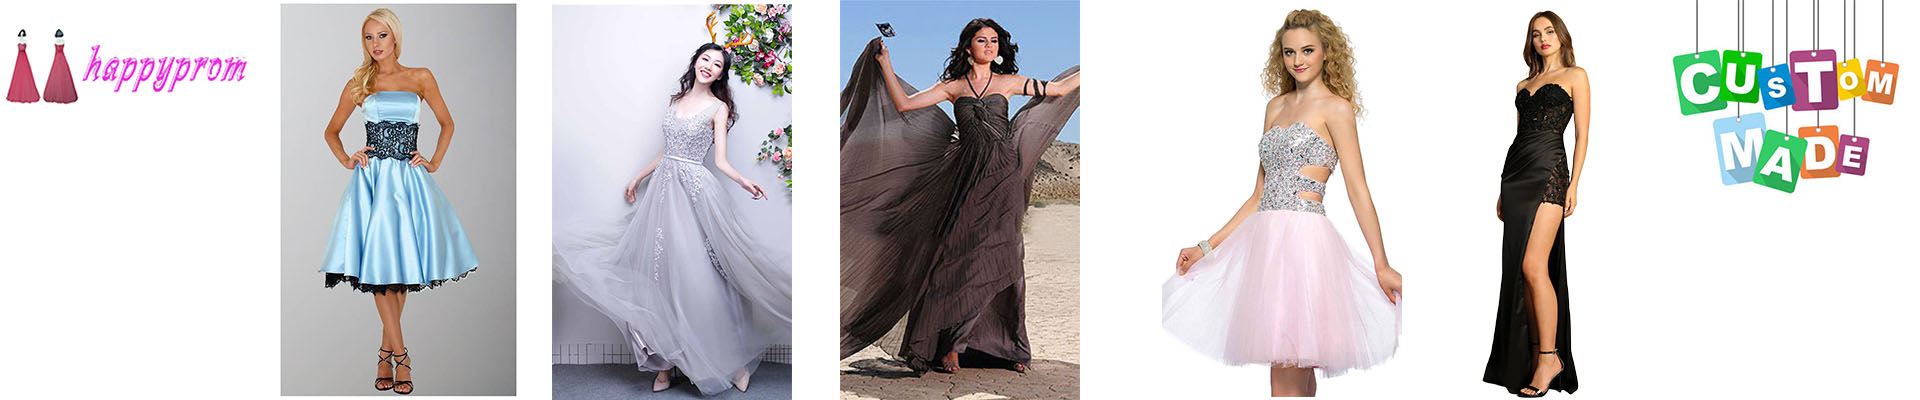
Understanding Made-to-Measure prom dress Dress Measurements
Before we dive into the specifics, it’s important to understand that the measurements needed for your custom prom dress may vary slightly depending on your chosen style.
A strapless ballgown requires different measurements than a long-sleeved mermaid dress, for example. However, there’s a core set of measurements that every custom dress maker will need, regardless of style.
Important: All measurements should be taken while wearing only undergarments or the specific bra you plan to wear with your dress. This ensures the most accurate fit possible.
[Check Guide to: How to Measure Yourself]

The Basics: The “Big Three” Measurements of Bespoke Prom Gown
These three fundamental measurements form the foundation of any custom dress pattern:
Bust
Measure around the fullest part of your bust, typically across the nipple line. Keep the measuring tape parallel to the floor all the way around your body. The tape should be snug but not tight—you should be able to slip two fingers underneath comfortably.
Waist
Measure around the smallest part of your torso, which is usually located a few inches above your belly button. This is your natural waistline. To find it, bend slightly to the side—the crease that forms is your natural waist. Don’t pull the tape tight or hold your breath; just let it rest comfortably against your body.
Hips
Measure around the fullest part of your hips and rear, typically about 7-9 inches below your natural waistline. Again, keep the tape parallel to the floor and ensure you’re measuring at the widest point.
Lengths and Depths: Getting the Proportions Right
These measurements determine how the bodice fits your torso and ensure your dress is the perfect length.
Shoulder to Waist (Front)
Start at the shoulder seam near your neck (where the shoulder meets the neck) and measure down over the fullest part of your bust to your natural waistline. This measurement helps the designer create a bodice that fits your torso length perfectly.
Shoulder to Floor (with shoes)
Measure from the tip of your shoulder—where a shoulder seam would naturally sit—straight down to the floor. This measurement must be taken while wearing the exact height of shoes you plan to wear to prom. This is absolutely crucial for achieving the correct hem length. Even a half-inch difference in heel height can affect how your dress falls.
Hollow to Floor (with shoes)
This is a key measurement used in bridal and formalwear. Measure from the hollow of your neck (that small dip between your collarbones at the base of your throat) straight down to the floor. Once again, wear your prom shoes while taking this measurement. This helps ensure the overall proportions of the dress are correct for your height.
Circumference Details: Fine-Tuning the Fit
These additional measurements help create a dress that fits like it was made for you—because it was!
Under Bust
Measure directly under your bust, where a bra band typically sits. This is especially important for dresses with structured bodices or corset-style backs.
Shoulder Width
Measure straight across your back from the tip of one shoulder to the tip of the other. This ensures the dress sits properly on your shoulders without sliding off or pulling tight.
Neck Circumference
Measure around the base of your neck, where a collar would sit. This measurement is particularly useful for high-neck styles, halter designs, or any dress with a collar or neck detail.
Additional Measurements for Specific Styles
Depending on your dress design, your designer may request additional measurements:
For dresses with sleeves:
- Arm length (from shoulder to wrist)
- Upper arm circumference
- Forearm circumference
- Wrist circumference
For off-shoulder or bardot styles:
- Upper arm circumference at the point where the sleeve will sit
For dresses with trains:
- Center back length (from the nape of the neck to the floor)
For two-piece designs or crop tops:
- Torso length (from under bust to desired bottom hem of the top)
For high-slit designs:
- Desired slit height from the floor
How to Take Measurements: A Step-by-Step Guide
Getting accurate measurements isn’t difficult, but it does require attention to detail and the right approach.
Find a Friend
This is perhaps the most important tip: have someone else take your measurements. It’s nearly impossible to get accurate results when measuring yourself. Your helper doesn’t need to be a professional—just someone who can follow instructions and handle a measuring tape.
Use the Right Tools
Invest in a flexible fabric or plastic measuring tape designed for sewing. These typically have measurements on both sides and are flexible enough to contour to your body. Never use a metal construction tape measure—it’s too rigid and won’t provide accurate results for body measurements.
Posture is Key
Stand straight with your feet together, but stay relaxed. Don’t suck in your stomach, stand unnaturally straight, or hold your breath. The goal is to capture your body as it naturally is, not an idealized version. You’ll be wearing this dress for hours at prom—it needs to fit your real body comfortably.
No “Wiggle Room”
When taking measurements, pull the tape measure snugly against your body, but not so tight that it indents your skin. Think of it as a comfortable hug, not a squeeze. The dress designer will add the necessary ease (extra room) for movement and comfort—your job is simply to provide accurate body measurements.
Record Everything Carefully
Write down each measurement immediately, and consider taking each measurement twice to confirm accuracy. Note which units you’re using (inches or centimeters) and be consistent throughout.

What If You’re Still Growing?
If you’re a teenager who’s still growing or experiencing body changes, don’t worry—this is completely normal and expected. Here’s how to handle it:
Take your initial measurements when you begin planning your dress, then plan to reconfirm all measurements approximately 6-8 weeks before your dress completion deadline. This gives your designer enough time to make any necessary adjustments while still ensuring the most accurate fit.
If you’re ordering your dress several months in advance, communicate with your designer about your situation. Many designers can build in some flexibility or plan for a final fitting closer to prom to accommodate any changes.
Understanding the Role of Your Designer
Here’s something crucial to understand: a custom dress is NOT off-the-rack sizing. The measurements you provide are simply a starting point—a foundation upon which your designer will build.
Your designer will use these measurements to draft a unique pattern specifically for your body. They’ll add appropriate ease for movement, account for the fabric’s properties, and incorporate design elements that work with your proportions. This is why custom dresses fit so much better than anything you could buy in a store.
Additionally, a final fitting (or sometimes two) is where the true magic happens. During fittings, your designer can make minor adjustments, ensure the dress moves with you properly, and perfect every detail. This collaborative process between you and your designer is what transforms a set of measurements into a stunning gown that makes you feel absolutely incredible.

Before You Begin
Remember, taking measurements for a custom prom dress is an investment of time that pays off enormously in the final result. Set aside at least 30 minutes in a well-lit space, wear the undergarments you’ll wear with your dress, and approach the task methodically.
Your custom prom dress represents a unique opportunity to wear something truly made for you. By providing accurate measurements and working closely with your designer, you’re setting the stage for a gown that fits perfectly, flatters your figure, and makes you feel like the best version of yourself on one of high school’s most memorable nights.
Frequently Asked Questions
How far in advance should I take my measurements?
Ideally, take your initial measurements when you begin the design consultation with your dressmaker, typically 4-6 months before prom. However, plan to reconfirm your measurements about 6-8 weeks before your dress completion date, especially if you’re still growing or if your weight fluctuates.
Can I take my own measurements, or do I really need help?
While it’s technically possible to take some measurements yourself, we strongly recommend having someone help you. Many key measurements—especially those on your back, shoulder width, and lengths—are nearly impossible to take accurately on your own. The small investment of asking a friend or family member to help will pay off enormously in the fit of your final dress.
What should I wear when taking measurements?
Wear only the undergarments or specific bra you plan to wear with your prom dress. If you’ll be wearing shapewear, put that on too. Don’t wear regular clothing, as even thin fabrics can add bulk that affects the accuracy of your measurements. If you’re uncomfortable, you can drape a robe over your shoulders between measurements.
Do I need to buy my prom shoes before taking measurements?
You don’t necessarily need to purchase your exact shoes, but you do need to know the heel height you’ll be wearing. If you haven’t bought your shoes yet, measure while wearing shoes that match your planned heel height. Even a half-inch difference in heel height can affect your dress length significantly.
What if my measurements don’t match standard sizing charts?
This is actually completely normal and one of the main benefits of custom dresses! Most people’s measurements don’t correspond to a single standard size—you might be one size in the bust, another in the waist, and yet another in the hips. Custom dresses are made to your exact measurements, not to fit into predetermined size categories, so don’t worry if your numbers seem “between sizes.”
How tight should the measuring tape be?
The measuring tape should be snug against your body but not tight enough to compress your skin or create indentation. Think of it as lying flat against your body with gentle, even pressure all the way around. You should be able to slip two fingers under the tape comfortably.
What if I lose or gain weight after taking measurements?
Communicate with your designer immediately if you experience significant weight changes (generally 10 pounds or more). Most designers can accommodate changes up to a certain point, especially if they’re notified early. This is another reason why taking measurements closer to your prom date is beneficial, and why most designers schedule fittings before completing the dress.
Should I measure on my period or bloating days?
Try to take measurements on a “normal” day when you’re not experiencing significant bloating, as this can temporarily add inches to your waist and hip measurements. However, if you frequently experience bloating, mention this to your designer—they can add slight ease in strategic areas to ensure you’re comfortable.
What’s the difference between “shoulder to floor” and “hollow to floor”?
“Shoulder to floor” measures from the tip of your shoulder down, while “hollow to floor” measures from the small dip at the base of your neck (between your collarbones) down. Both measurements are important because they help your designer understand your proportions and ensure proper dress length and bodice fit from different reference points.
Can I use measurements from a dress that fits me well?
While this seems logical, we don’t recommend it. Body measurements and garment measurements are different things—a dress that fits well already has ease, seam allowances, and design elements built in. Your designer needs your actual body measurements as a starting point. However, you can certainly share information about what size you typically wear as a general reference.
How long does the measuring process take?
Plan for 30-45 minutes to take all necessary measurements carefully and double-check your work. Rushing through the process can lead to errors that affect your final dress fit. Put on some music, relax, and take your time—this is an important part of creating your dream dress!
What if I’m between two measurements?
If your measuring tape falls between two numbers, round to the nearest quarter inch or half centimeter. However, never round down to make your measurements smaller—always round to the higher number to ensure adequate fit. Your designer will adjust for proper fit during construction and fittings.
Related Post: